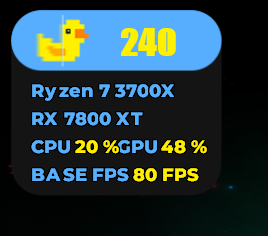
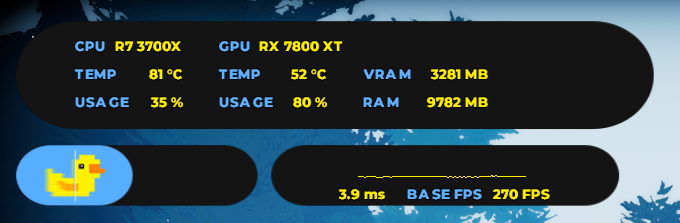
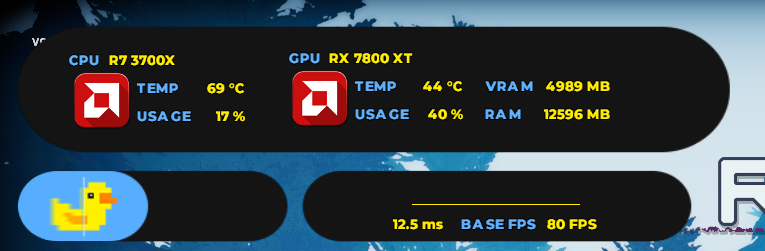
Custom Overlays - FPS counters for LSFG
Guide 1
Step 1: Install Rivatuner Statistics Server
Download Link: RTSS
Step 2: Download the Overlay theme you want
Step 3: Download and install this font file
- Font: Montserrat

Step 4: Follow the steps in the video
- Video Guide: Video Guide by ZifuGG
Directory for Rivatuner .ovx file
'C:\Program Files (x86)\RivaTuner Statistics Server\Plugins\Client\Overlays'
Lossless Scaling FPS Counter Configuration
[fps_counter]
- scale = 2.0
- color = 0xfff000
- font = Impact
- offset_x = 150
- offset_y = 145
- show_captured = 0
Guide 2
Important Note:
WORKS WITH DXGI CAPTURE API ONLY AND DOES NOT REQUIRE LS OVERLAY TO WORK
Prerequisites:
- Install Montserrat font
- In RTSS interface:
- Set On Screen Display Rendering Mode to Raster 3D
- Change font to:
- Font: Montserrat
- Weight: Extra Bold
- Size: 7
- Note: Apply to all profiles separately if needed
Installation Steps:
Step 1: Install AutoHotkey
- Download from: AutoHotkey
- Install the latest version (required to open AHK scripts)
Step 2: Copy Overlay Files
-
Download files (OVL and PNG from Guide 1)
-
Copy to:
C:\Program Files (x86)\RivaTuner Statistics Server\Plugins\Client\Overlays
- Overwrite if
presentmon_custom.ovlexists
- Overwrite if
Step 3: Configure Overlay
- Enable and open overlay editor
- Click:
- Layouts → Load
- Select your
presentmon_custom.ovl - Layouts → Save
Step 4: Find Process ID
- Open Task Manager → Details tab
- Find PID number for Lossless Scaling.exe
- Remember this number
Step 5: Set Process ID in Overlay
-
Open overlay editor
-
Layouts → Edit
-
Environmental Variables:
PM_ProcessId=3302 (replace 3302 with your actual PID)
-
Layouts → Save
Step 6: AHK Script Setup
- Download
Attach-Lossless Scaling.ahk - Purpose: Automatically switches PID number
- Important Notes:
- Required to capture LSFG FPS
- Must set correct PID once before script works
- Script will auto-switch PID after initial setup
- PID changes when:
- Closing Lossless Scaling
- Restarting PC
- Usage:
- Double-click AHK file to update PID
- Keep Lossless Scaling in tray
- Use hotkeys when possible
- Credit: Script by @Evil Quaint
Additional Resources:
Guide 3
Required Downloads:
Configuration Steps:
Step 1: HWinfo Settings
- Open HWinfo
- Go to:
- Settings → Customize
Step 2: Rename Frame Rate Metric
- Locate the PresentMon section
- Find "Framerate (Presented)"
- Rename it to "LSFG" (or your preferred name)
- Important: Rename the bottom one, not the top one
- Click "Rename" to apply
Step 3: Enable OSD Display
- Stay in HWinfo Settings
- Navigate to:
- OSD (RTSS) section
- Find your renamed metric (LSFG)
- Enable:
- Show value in OSD
- Show label in OSD
- Click OK
Step 4: MSI Afterburner Setup
- Open MSI Afterburner
- Go to:
- Settings → Monitoring
- Next to "Monitoring sensors":
- Click the three dots (...)
- Select "Activate HwInfo.dll"
- Click OK
Completion:
Ready. Your frame generation metrics should now appear in your OSD.
Guide 4
Required Downloads:
Installation Steps:
Step 1: Place Overlay Files
Copy these files to:
C:\Program Files (x86)\RivaTuner Statistics Server\Plugins\Client\Overlays
losslessdualgpu.ovlCustom Overlay.png
Step 2: Configure FPS Counter
Add this to your config.ini:
[fps_counter] scale = 1 color = 0xfbf673 font = Unispace offset_x = 242 offset_y = 46 show_captured = 0
Location:
C:\Program Files (x86)\Steam\steamapps\common\Lossless Scaling\config.ini
Note: These offset values work for 1080p - adjust offset_x and offset_y for 1440p displays.
Overlay Setup:
- Setup → Plugins →
OverlayEditor.dll - Layout → Edit → Browse under 'Embedded Image'
- Select
Custom Overlay.png - Data Sources → Add → MSI Afterburner
- Check all relevant sources
- Load
losslessdualgpu.ovl - Press
Ctrl + Shift + L - Customize names, sizes, and colors as needed
Note: If you are seeing a pattern of weird numbers instead of the background png animation, then simply reselect the same png file in "Browse" as in step 2.